Getting started
In this section
Introduction
The LRIS Portal has been developed in conjunction with the team at Koordinates to allow you to download environment data held by Manaaki Whenua – Landcare Research (MWLR) for use in GIS and other applications that can handle geospatial data for mapping, querying and spatial analyses. The portal was the first of a number of MWLR’s Geospatial Information Services and an endeavour to create a new repository of authoritative New Zealand environmental geospatial datasets and information.
Registration
While you can search and view data, to download data you need to be a registered user.
If you are an employee of MWLR you should have been automatically registered to use the Portal and have immediate access to the web site by logging in.
Public users of the LRIS Portal have to register providing a valid email address and a password.
It is important that you read the Terms of Use and Privacy Policy BEFORE you register. Don’t forget to tick the check box to say you accept the Terms of Use and Privacy Policy.
Once you have registered you will gain access to the portal.
An email acknowledging that you have registered to use the service will be sent to the email address you provided. Messages, such as when your data is available for downloading, will also be sent to the email address you provided when you registered. It's therefore important to use a valid and operational email address.
Quick start
If you're in a hurry, instructions about two of the main functions of the LRIS portal are described below, Viewing data and Download.
Viewing data
It is possible to get information about a particular dataset without downloading it by using the "Show data table" or the "Spatial query" functions.
This will give you a view of the underlying data table. First, make sure you have a map panel active in the top toolbar,

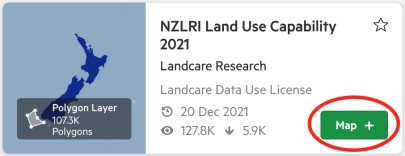
and a dataset added to the map, which can be done via the "Map +" button in the layer card.
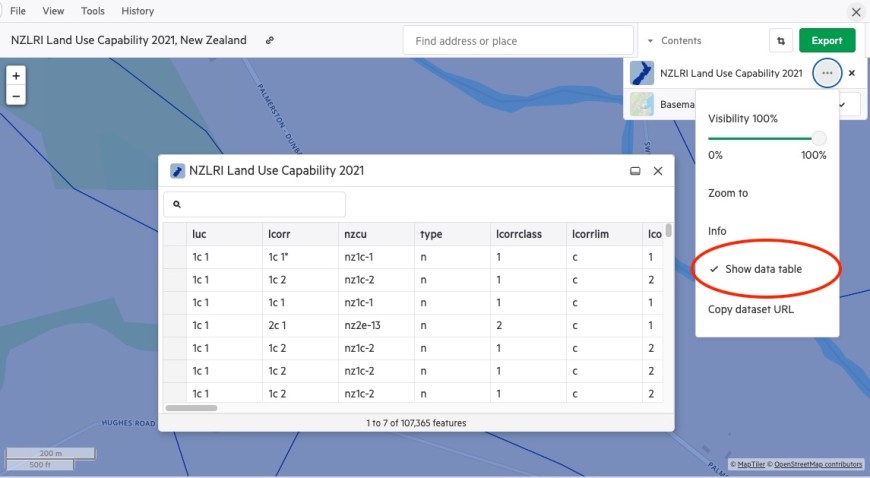
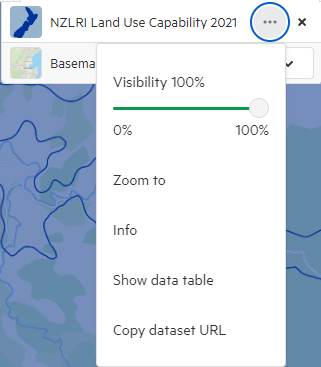
Expand the Contents dropdown, and within that, the layer options by clicking on the ellipses button.

Select "Show data table" - this will launch the data table, allowing you to view the underlying data table.
This allows you to find more information about a specific section of a layer. Make sure you have a map panel active in the top toolbar, and a dataset added to the map.
Click on any part of the map.
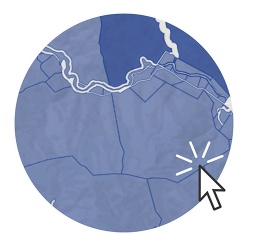
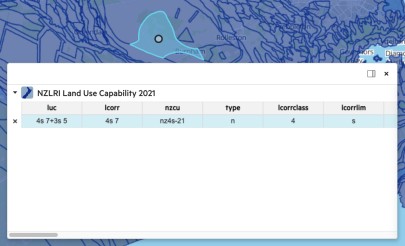
When you click on a polygon, if there is relevant data layer information associated, the Spatial Query window will appear and display any available information related to that location. The information is displayed in a data table, with the relevant row selected, as well as the details (sometimes called attributes), of the layer item.
Download
This allows you to download all, or part of a dataset. First, make sure you have a map panel active in the top toolbar

and a dataset added to the map.

Click the Export button.
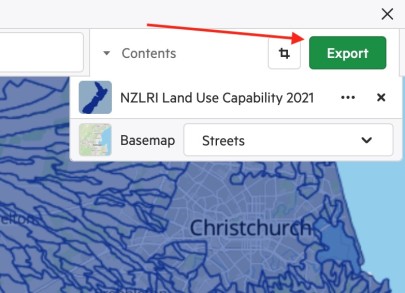
This will open the Export window. Make sure the Export tab is highlighted.
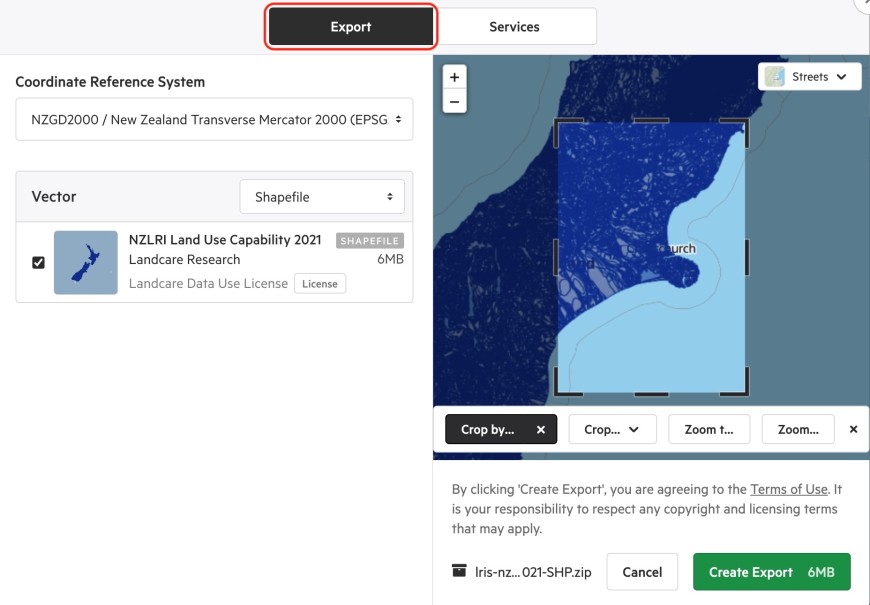
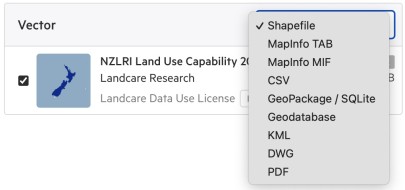
There are several file formats you can download your data in – Shapefile, MapInfo, AutoCad, KML, PDF etc. See the full list of supported export formats here. Choose your preferred option from the dropdown list.
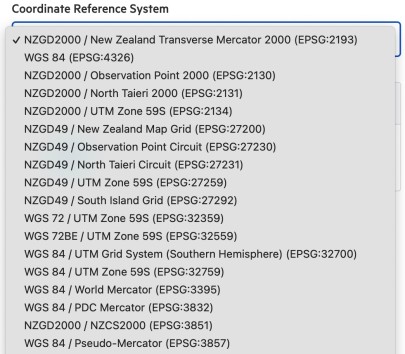
You are also given the option to choose between various forms of map projection.
Cropped downloads
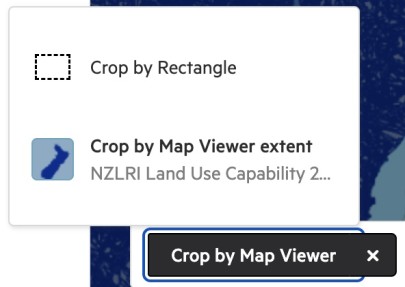
You can choose to just download part of the data - either by cropping it to a rectangle, or map viewer extent.
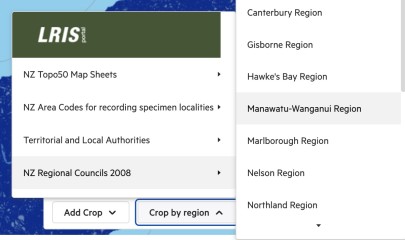
Additionally, you can choose to crop by various geographical extents, such as Territorial and Local Authorities, or Regional Councils.
Once you are happy with the projection, format and data extent, click the Create Export button. This button will display the size of your download.
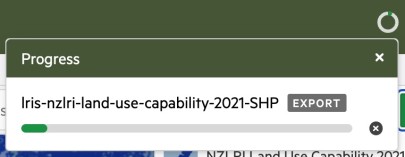
A progress window will open.
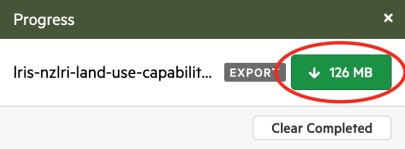
Once your data has been prepared, the download button will appear in the same window. Click to begin your download.
Main Page
Once you have registered and logged in, the main page for exploring the LRIS Portal data will look something like the below image. It may differ slightly dependent on which panels are active. The main functionality of this page is detailed underneath.
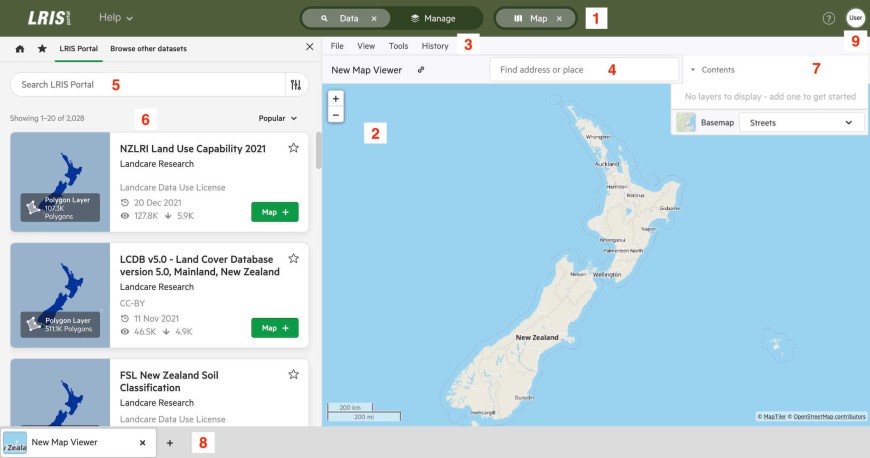
- Panel buttons - Toggle which panels are displayed / active.
- Map window - View and query layers, and if desired, crop before download.
- Tool bar - Various menus for viewing, querying and zooming to location. You can manage your map windows here.
- Find Address or place - Search for an address or a location. Clicking on the result will zoom to that location.
- Search datasets - Search for a dataset using a keyword or name of the dataset. Results will be displayed below.
- Data cards - Each card represents a dataset. Summary info is displayed and you can add the data to the map by clicking the green "Map +" button.
- Contents - When a layer has been added to the map, it will display here.
- Toggle map windows - If you have more than one map window, you can toggle between them from this section.
- User settings - Clicking this will display a menu allowing you to do things like manage API keys and your Koordinates profile.
Data Cards
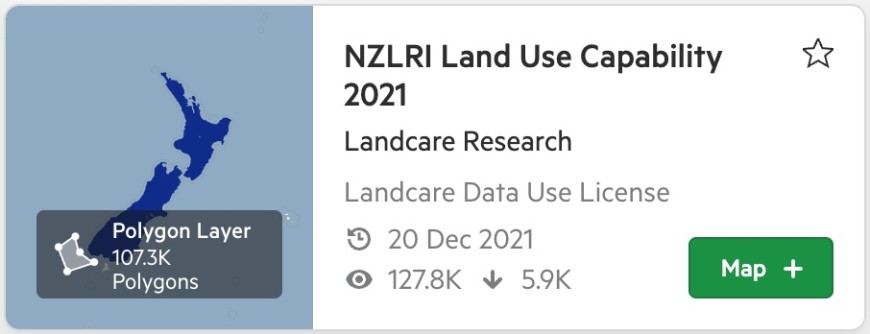
These provide a concise introduction to the basic features of the dataset, including:
- Title of the dataset
- Source of the dataset
- Licence
- Date added and updated
- View and download count
- A 'Map +' button to add the dataset to your map
- Dataset type (e.g. polygon layer) and number of features
Contents
This dropdown panel gets populated with the current basemap (which can be changed), and any datasets you have added to the map.
Each dataset you add has an ellipses button (...). From the resulting dropdown menu you can:
- adjust the transparency
- zoom to the layer extent
- access summary info
- show data included in the dataset in form of a table
- copy the dataset url for easy sharing
Data panel
You can browse the data layers available on the LRIS portal and datasets held outside the portal.
Browse and filter data
First, make sure you have a data panel active in the top toolbar

You should see data cards for each dataset, which shows a summary of the dataset. You can use the search box to search for a specific dataset, or you can use the dropdown filters to filter the results by type (type, region etc).
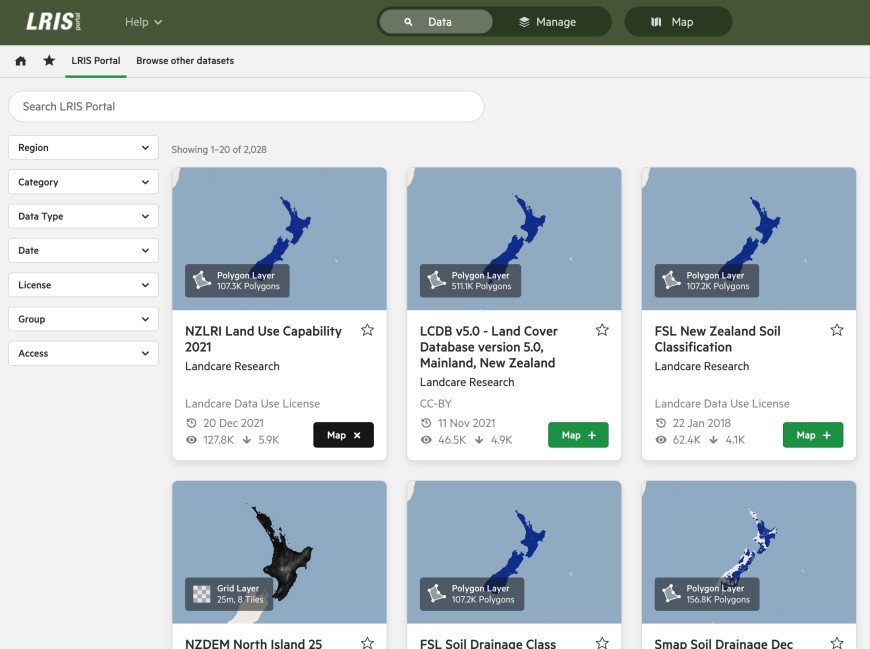
Clicking on a card will bring up the full card view of it
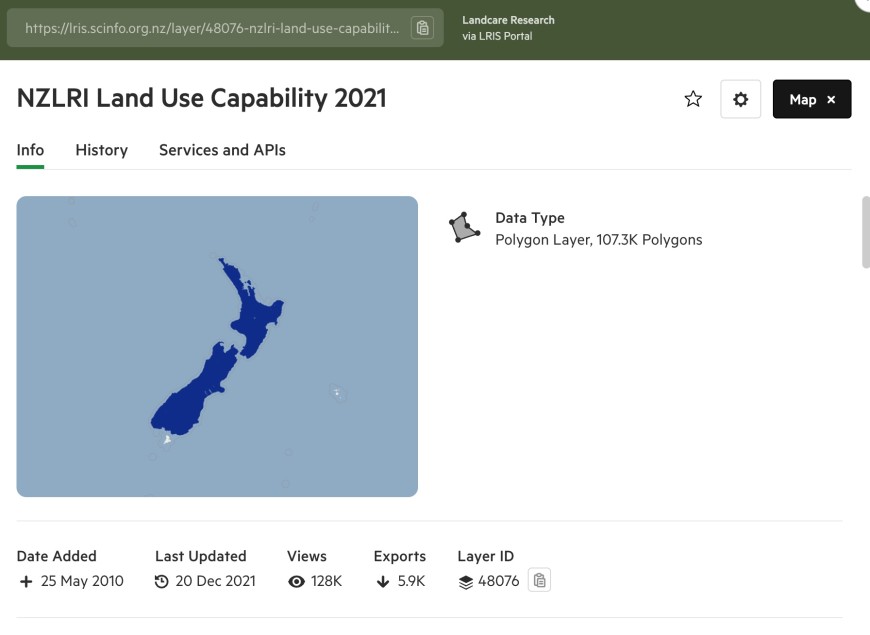
You will see a number of tabs and buttons on this window. The info tab is the default and gives information relating to the layer similar to the data card summary.
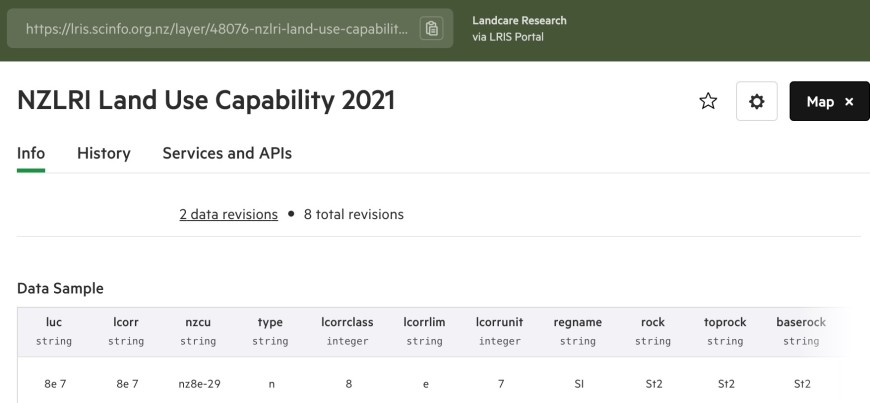
Scrolling down within this window will take you to the Data Sample table, which displays any attributes that exist for it.
If you select the Services and APIs tab, you will see any services that have been enabled for this dataset, such as OGC WFS and CSW. These features are explained in further detail in the API's section of the help.
Further info
Additional help relating to many aspects of the LRIS portal can be found in the Koordinates Help pages, as the LRIS portal has been built in conjunction with the team from Koordinates. If you are looking for data you expected to find in the LRIS Portal and didn’t, please contact us at lris@landcareresearch.co.nz or if you have any questions about the site please contact lris_support@landcareresearch.co.nz.
